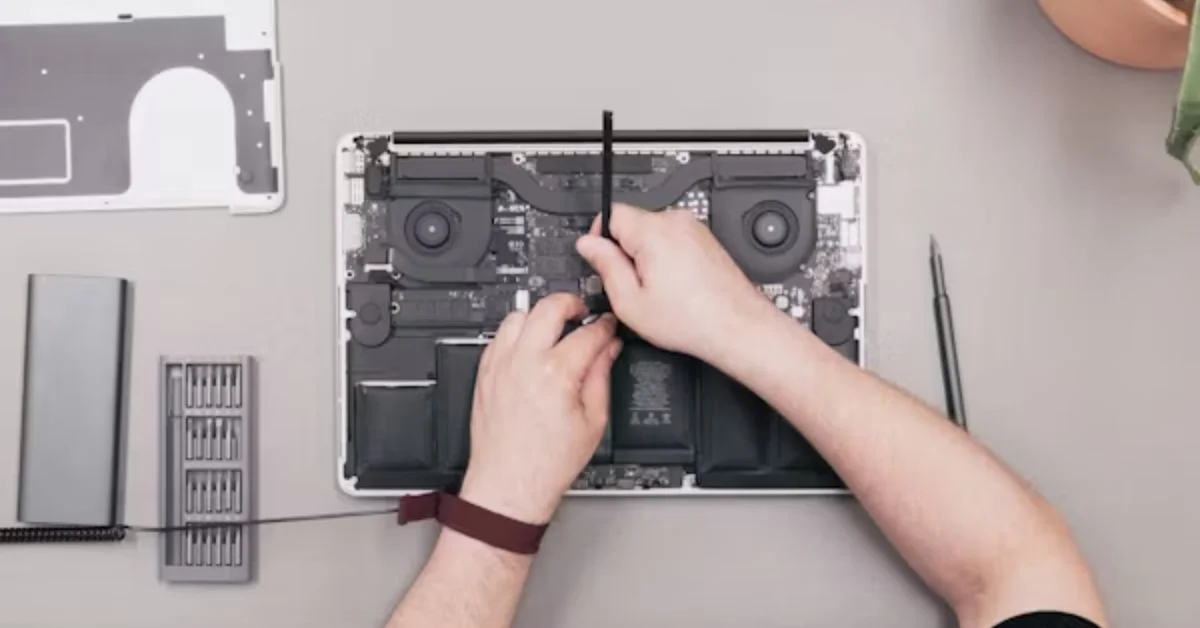
Clarion radios have earned a strong reputation for delivering high-quality sound, advanced features, and reliable performance, whether in cars, boats, or home entertainment setups. Like all electronic devices, however, they can develop faults over time due to wear, environmental conditions, or mishandling. Repairing a Clarion radio requires both an understanding of its internal components and the ability to identify symptoms that indicate where the problem lies. This in-depth guide will walk you through everything you need to know about Clarion radio repairs, from basic troubleshooting steps to more advanced fixes, while also covering preventive maintenance to keep your unit in top condition.
Understanding Clarion Radios
Clarion Corporation, a well-established brand in the audio electronics industry, is known for producing a variety of radios ranging from basic AM/FM units to advanced multimedia systems with Bluetooth, GPS navigation, and touchscreens. They are common in automotive setups but are also used in marine environments due to their rugged, weather-resistant designs.
The complexity of a Clarion radio depends on its model. Older models may have simpler analog circuitry, while modern units incorporate digital signal processors (DSPs), microcontrollers, and advanced firmware. Understanding which type of Clarion radio you own is the first step toward effective repair.
Common Issues with Clarion Radios
While Clarion radios are known for their durability, several common issues may arise:
- No Power or Intermittent Power Loss – Often caused by a blown fuse, bad wiring connection, or faulty internal power supply.
- Poor Reception or No Signal – Can result from a damaged antenna, loose antenna cable, or faulty tuner.
- Distorted or No Audio Output – Might indicate speaker wiring issues, blown output transistors, or faulty audio processors.
- Buttons Not Responding – Usually due to worn-out contact pads or internal control circuit malfunctions.
- Display Problems – Dim screens, flickering, or total failure often point to backlight or LCD driver faults.
- Bluetooth or Connectivity Failures – Related to firmware glitches, module damage, or pairing setting errors.
Basic Troubleshooting for Clarion Radios
Before diving into complex repairs, a methodical troubleshooting approach can help pinpoint the issue.
1. Check the Power Supply
Start by confirming that your Clarion radio is receiving adequate power:
- Inspect the fuse in the radio’s power line and replace if blown.
- Check the car or boat’s fuse box for a blown audio system fuse.
- Use a multimeter to verify voltage at the radio’s power connector.
2. Inspect Wiring and Connections
Loose, corroded, or damaged wiring can cause intermittent operation or complete failure:
- Ensure the ground wire is securely connected.
- Check speaker wires for shorts or breaks.
- Inspect the antenna cable for damage.
3. Reset the Unit
Many Clarion radios have a reset button that can restore factory settings. This can fix minor software glitches.
4. Test External Components
If the radio is not picking up stations, test the antenna with another device. If using Bluetooth, ensure the paired device is functioning properly.
Repairing Power Issues
Power-related problems are among the most frequent with Clarion radios. If your unit fails to power up:
- Fuse Replacement: Replace any blown fuses with the correct rating.
- Connector Cleaning: Use contact cleaner on corroded connectors to restore proper electrical flow.
- Internal Power Supply Check: For advanced repairs, open the unit and inspect the power regulator circuits for burnt components.
Fixing Audio Output Problems
If the Clarion radio turns on but produces no sound or distorted audio:
- Check if the mute function is enabled.
- Test each speaker individually to isolate whether the problem lies in the radio or the speaker system.
- Inspect output IC chips for damage; replace if needed.
- Verify that equalizer settings are not causing distortion.
Resolving Display Issues
Modern Clarion radios often feature LCD or LED displays. Common display issues and solutions include:
- Dim Display: Adjust brightness settings or replace the backlight LEDs.
- Flickering Screen: Inspect and replace faulty voltage regulators or ribbon cables.
- Blank Display but Audio Works: This often indicates a failed LCD driver chip or screen assembly.
Bluetooth and Connectivity Repairs
For units with Bluetooth:
- Clear all paired devices and re-pair.
- Update firmware if available.
- Replace the Bluetooth module if hardware failure is confirmed.
Marine Clarion Radio Repairs
Marine environments are harsh due to saltwater, humidity, and temperature changes. Marine Clarion radios require extra care:
- Inspect for corrosion on connectors and circuit boards.
- Use moisture displacement sprays to prevent rust.
- Replace weather seals if worn or damaged.
Preventive Maintenance for Clarion Radios
Preventive measures can extend the life of your Clarion radio:
- Keep the unit clean and dust-free.
- Avoid exposing it to direct sunlight for long periods.
- Regularly inspect wiring for wear.
- For marine radios, rinse with fresh water after exposure to salt spray and dry thoroughly.
When to Seek Professional Help
Some repairs are best left to experienced technicians, especially those involving micro-soldering or firmware reprogramming. If your Clarion radio has significant water damage, severe circuit board burns, or repeated failures after repair attempts, a professional repair shop can provide a safer and more reliable fix.
Cost of Clarion Radio Repairs
Repair costs vary depending on the issue:
- Minor repairs (fuses, cleaning, wire replacement): $20–$50.
- Component replacement (speakers, display parts): $50–$120.
- Complex repairs (board-level fixes, module replacement): $100–$200+.
Sourcing Spare Parts
Clarion parts can be purchased from:
- Authorized Clarion service centers.
- Online electronics part suppliers.
- Salvaged units from the same model.
Always use genuine or compatible parts to ensure performance and safety.
Conclusion
Repairing a Clarion radio can be a straightforward task if you understand its components, symptoms, and troubleshooting methods. Whether it’s a simple fuse change or a complex board repair, patience and the right tools can restore your unit to full functionality. By combining repair skills with preventive maintenance, you can enjoy years of reliable audio from your Clarion radio.
FAQs
1. Can I repair my Clarion radio myself?
Yes, basic repairs like fuse replacement or wiring checks can be done at home, but complex board repairs may require professional help.
2. How do I know if my Clarion radio fuse is blown?
A blown fuse will have a visible break in the wire or test as open when checked with a multimeter.
3. What tools do I need for Clarion radio repairs?
Common tools include a multimeter, screwdrivers, contact cleaner, and soldering equipment for advanced fixes.
4. Are Clarion marine radios repaired differently?
Yes, marine radios require corrosion inspection, seal replacement, and moisture protection.
5. How long should a repaired Clarion radio last?
With quality repairs and proper care, a Clarion radio can last several more years without major issues.
For more information, click here.


